Getting started
What do I need?
There are a few things you will need before using calcite:
A git repository host (Azure Devops, Github, Gitlab)
Performance tests that generates reports. While we use our own
.jsonschema for uploads, we do provide converters for the usual benchmarking frameworks.A Continous Integration already setup. While the product can work by uploading manually, it will only shine when used with a CI environment.
Basic setup
Navigate to calcite to create your account, or sign in if you already have one.
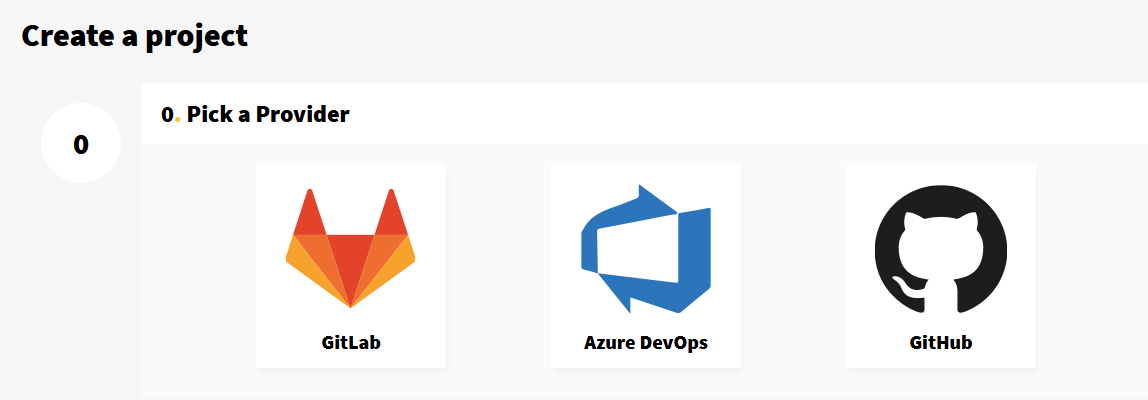
Create a new project by linking it with your git provider.
Your project should now be listed under the projects page.
Run your performance tests to generate a report for your commit.
Upload the performance report using the calcite upload command.
As soon as you have multiple reports, performance tracking will be enabled.